Ah, the inevitable cracked or damaged laptop screen. It happens to the best of us, and it can be frustrating, especially if you rely heavily on your Dell Vostro 3590 for work or personal use. But fear not! The world of laptop parts is more accessible than ever, and with a little bit of patience and this step-by-step guide, you’ll be back up and running in no time.
Safety First: What You’ll Need
Before you take apart your Dell Vostro 3590, make sure you have the following items handy:
- A new LCD screen compatible with your Dell Vostro 3590
- A small Phillips screwdriver
- A flat plastic spudger or plastic card
- Anti-static wristband (recommended)
- A clean, well-lit workspace
Important Preliminaries
- Back-Up Your Data: Always a good first step when you’re about to undertake any significant hardware operation.
- Switch Off the Laptop: Power off your Dell Vostro 3590 and unplug it from any power source.
- Static Precautions: Use an anti-static wristband to minimize the risk of damaging internal laptop parts with static electricity.
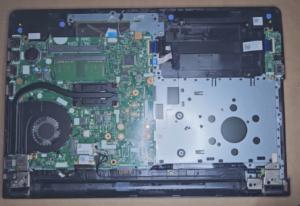
Let’s Get to It: Replacing the LCD Screen
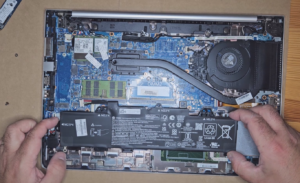
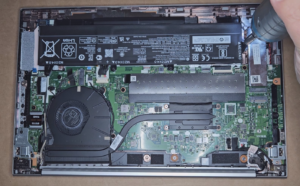
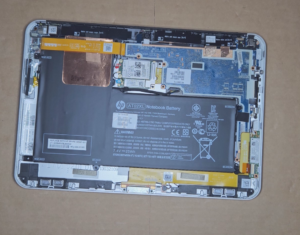
Step 1: Remove the Battery
Before you start tinkering with internal laptop parts, it’s essential to remove the battery to prevent any accidental power-up.
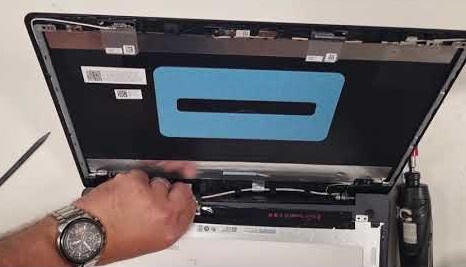
Step 2: Open the Screen Bezel
- Open the laptop lid and locate the screws around the screen bezel.
- Use your Phillips screwdriver to remove these screws.
- Gently pry open the bezel using your plastic spudger or plastic card.
Step 3: Remove the Old LCD Screen
- Once the bezel is off, you’ll see more screws securing the LCD screen to the lid.
- Remove these screws and carefully lift the old LCD screen out of its holder.
- Disconnect any cables attached to the old screen.
Step 4: Install the New LCD Screen
- Connect the cables to your new LCD screen.
- Place the new screen into the holder and replace the screws to secure it.
Step 5: Test Before Finalizing
- Before snapping the bezel back into place, it’s a good idea to turn on your laptop to ensure the new screen is functioning correctly.
Step 6: Close It Up
- If the screen is working fine, go ahead and place the bezel back and secure it with its screws.
- Reinsert the battery.
VIDEO:
Replacing an LCD screen might seem intimidating, especially if you’re unfamiliar with laptop parts, but it’s easier than you think. And the best part? You’ve just extended the life of your Dell Vostro 3590, and likely for a fraction of the cost of a professional repair.
Remember, DIY doesn’t mean you’re on your own. If you hit any snags or have questions, feel free to consult forums, watch videos, or even ask us here. Happy repairing!