Are you ready to take your Dell Latitude E7270 to the next level or give it a new lease on life? Whether you’re a tech enthusiast or a newcomer to the world of DIY laptop repairs, this guide is crafted to help you navigate through the intricate process of disassembling and upgrading your device. Let’s embark on this journey together, transforming your laptop from the inside out.
Understanding Your Device
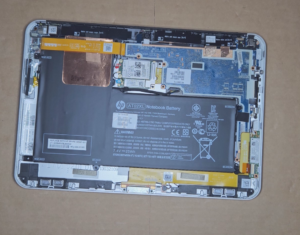
The Dell Latitude E7270, a robust and reliable model from the esteemed Latitude series, is known for its durability and performance. However, like any technology, it requires maintenance and occasional upgrades to keep up with the evolving demands of users. This guide will introduce you to the various components of your laptop, providing insights on how to enhance or repair them.
Tools You’ll Need
Before we begin, ensure you have the right tools. You’ll need a set of precision screwdrivers, a spudger, and an anti-static wrist strap for safety. A well-lit workspace and a small container to hold screws will also be invaluable.
The Disassembly Process
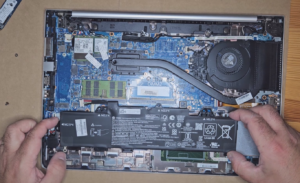
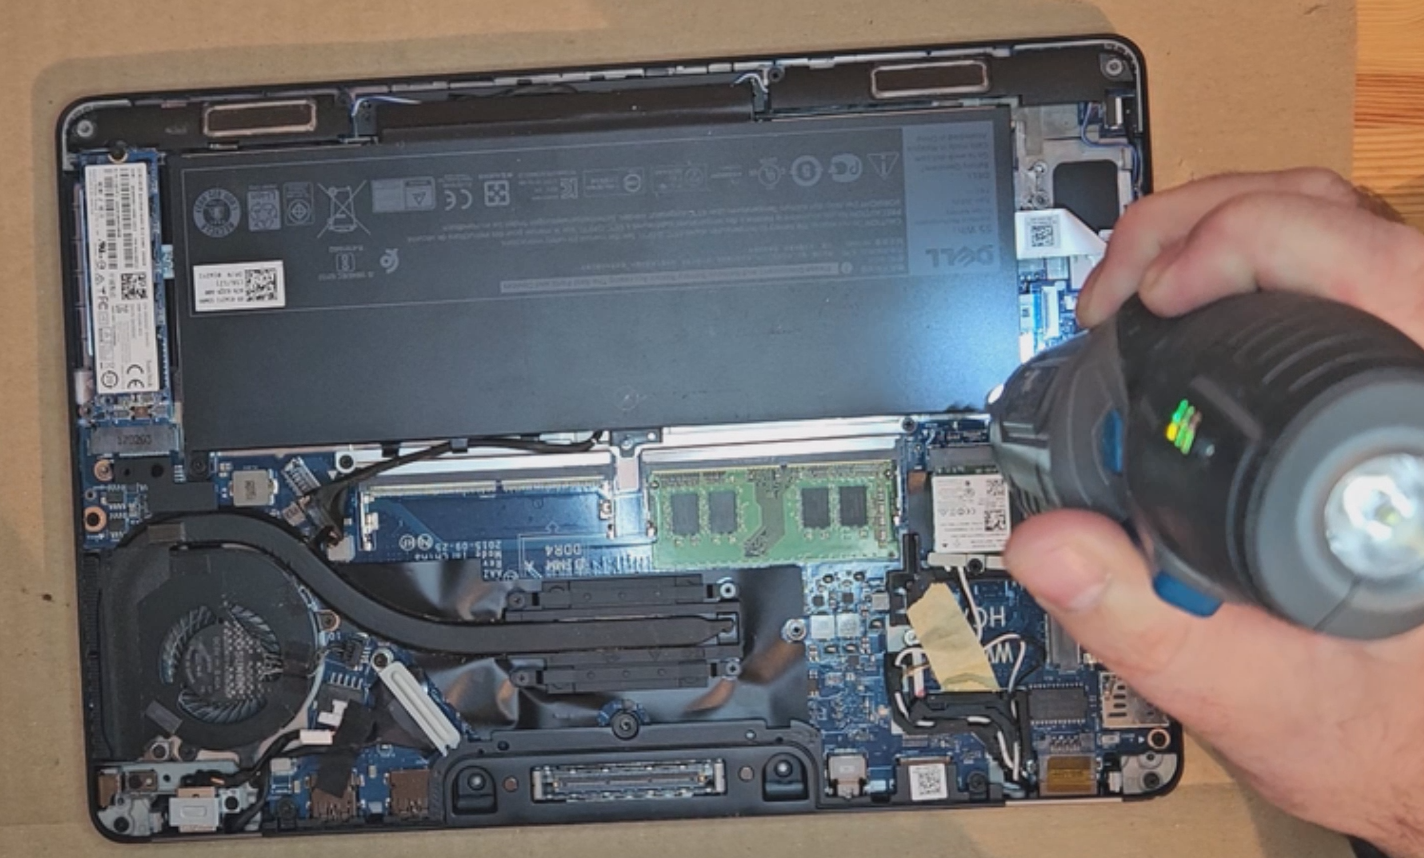
Step 1: Accessing the M.2 SSD and RAM
The journey starts by upgrading the core components – the M.2 SSD and RAM. We’ll show you how to carefully open the back panel and locate these components. Upgrading the SSD and RAM can significantly boost your laptop’s speed and performance.
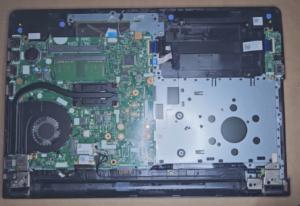
Step 2: Motherboard and Hinges
Next, we delve into the heart of your laptop – the motherboard. We guide you through the delicate process of removing and possibly replacing it. We also cover the hinges, crucial for the laptop’s structural integrity.
Step 3: Power Jack and Palmrest
The power jack, often subjected to wear and tear, is next. We provide tips for a smooth replacement process. Following this, we demonstrate how to remove the palmrest, a step often overlooked but vital for a thorough upgrade or cleaning.
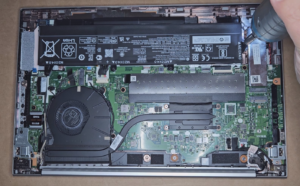
Step 4: WiFi Card, Fan and Cooling System
A stable internet connection and efficient cooling are essential. We’ll show you how to replace the WiFi card and maintain the fan and cooling system, ensuring your laptop remains cool and performs at its peak.
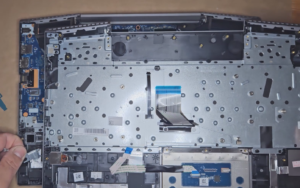
Step 5: Keyboard and Speakers
Replacing a keyboard or speakers might seem daunting, but with our guidance, it’s a breeze. Learn to delicately navigate these components for a successful upgrade.
Step 6: LCD Cable, Screen, and Bezels
Finally, we address the LCD cable, screen, and bezels. Whether you’re dealing with a damaged screen or looking for better display quality, we provide step-by-step instructions for a safe and effective replacement.
Conclusion: Empowering You with Knowledge
This guide is more than just a set of instructions; it’s a tool to empower you with the knowledge and confidence to maintain and upgrade your Dell Latitude E7270. With this comprehensive tutorial, you’re not just repairing or upgrading your laptop; you’re also enhancing your technical skills and understanding of the fascinating world of laptop hardware.
- Find out Dell laptop parts at Siggmo.com!
Remember, the key to successful DIY repairs and upgrades is patience and attention to detail. Take your time, follow the steps closely, and you’ll be rewarded with a laptop that feels as good as new. Happy upgrading!