In the realm of business laptops, the Dell Latitude 5420 stands out for its robust performance and reliability. But even the most durable laptops need maintenance or upgrades over time. Whether you’re looking to boost its speed with a new SSD, increase the RAM, or simply replace a worn-out battery, understanding how to disassemble your Dell Latitude 5420 is essential. This comprehensive guide will walk you through the complete disassembly process, offering valuable insights and tips for a successful upgrade or repair.
LINKS
Understanding the Dell Latitude 5420
Before diving into the disassembly, it’s important to appreciate what makes the Dell Latitude 5420 unique. It’s designed with a blend of durability and performance, featuring components that are robust yet user-friendly when it comes to repairs and upgrades. From its sleek design to the internal layout, everything is constructed with the user’s needs in mind.
Tools You’ll Need
- Precision Screwdriver Set: Essential for the various screws you’ll encounter.
- Plastic Pry Tools: To safely open the case and detach connectors without damage.
- Anti-Static Wrist Strap: To prevent damaging the sensitive electronic components with static electricity.
- Container for Screws: Keep track of all screws and small parts.
Step-by-Step Disassembly
- Preparing Your Workspace: Ensure you have a clean, static-free workspace. Ground yourself with an anti-static wrist strap to avoid damaging the components.
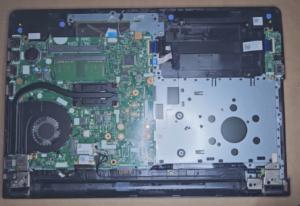
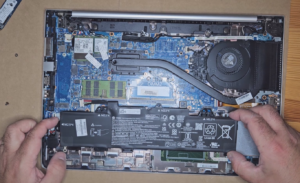
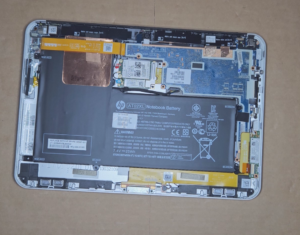
- Battery Removal: Begin by shutting down your laptop and disconnecting the power. Flip your Latitude 5420 over and remove the screws securing the bottom cover. Carefully lift the cover using a plastic pry tool. The first component you’ll usually want to remove is the battery – disconnect its cable and unscrew it from the chassis.
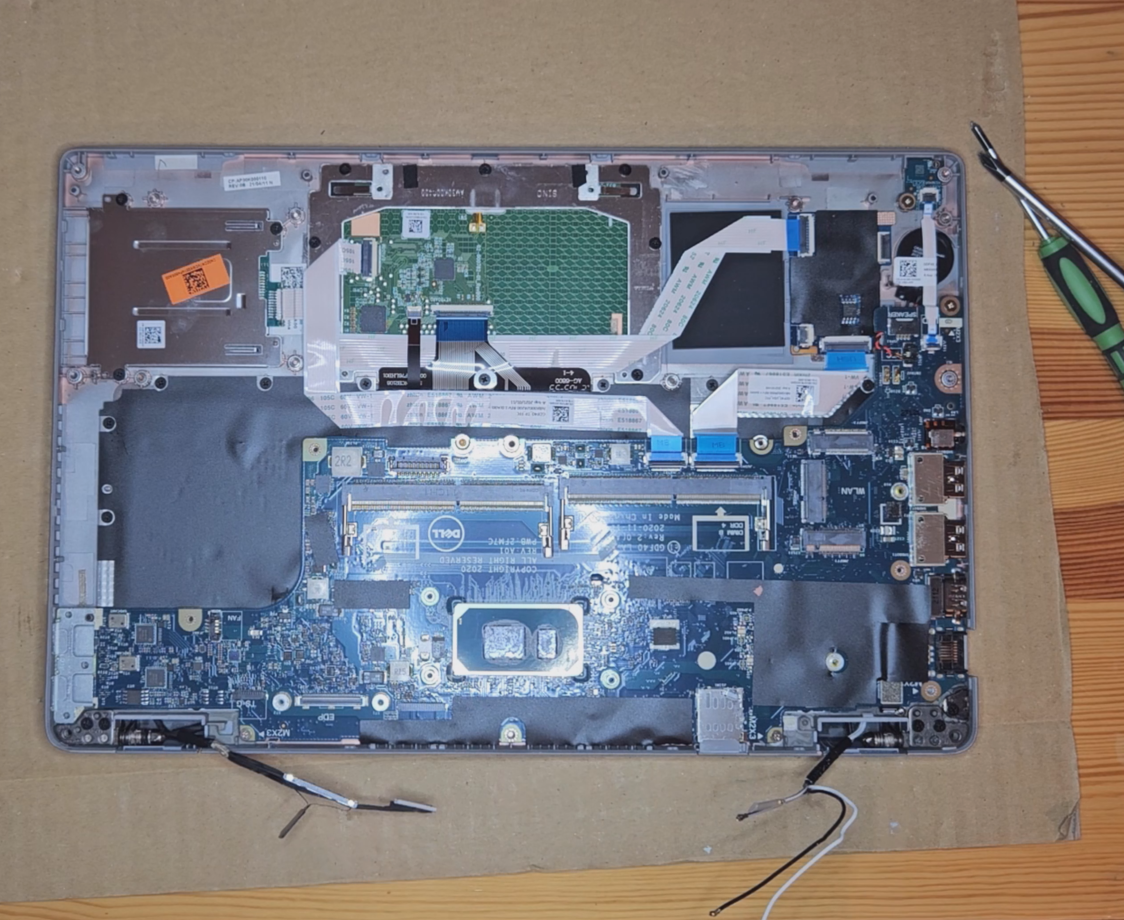
- RAM and Storage Upgrade: With the back cover off, you’ll have access to the RAM and storage. Push the clips holding the RAM sticks in place and gently remove them. To replace or upgrade the SSD, remove the single screw securing it, and carefully pull it out of its slot.
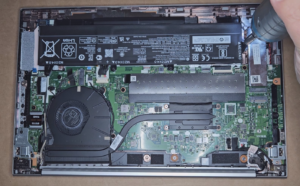
- Cooling System and Fans: If you’re looking to clean the fans or replace the thermal paste, you’ll need to remove the cooling system. Unscrew the heatsink and carefully detach the fans. Clean the old thermal paste off the CPU and GPU using isopropyl alcohol and apply new thermal paste before reassembly.
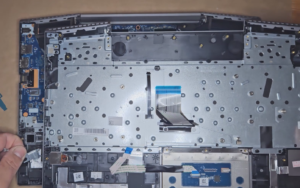
- Keyboard and Screen: Replacing the keyboard or screen is more complex. Carefully detach the ribbon cables connecting them to the motherboard. Remove the screws securing the keyboard and gently pry it out. For the screen, ensure all cables are detached before unscrewing and removing it from the hinges.
- Motherboard and Additional Components: For deeper repairs or replacements, like the touchpad, speakers, or motherboard itself, continue disassembling by carefully detaching all visible cables and removing the screws. Take photos at each step to remember where each component fits.
Reassembly Tips
- Take Your Time: Rushing can lead to mistakes. If you’re not sure about a step, consult a repair manual or watch a tutorial video.
- Track Your Screws: Make sure all screws go back where they came from. Mixing up screws can cause serious damage.
- Test Before Finalizing: Before putting all the screws back in, connect the power and test the laptop to ensure everything is working correctly.
VIDEO:
Disassembling your Dell Latitude 5420 can seem daunting, but with the right tools and a careful approach, it’s a task that can significantly extend the life and improve the performance of your laptop. Whether you’re upgrading the RAM, swapping out the SSD, or just giving your laptop a good clean, this guide is your companion through the process. Remember, patience and attention to detail are your best tools in ensuring a successful upgrade or repair.