Upgrading and maintaining your laptop can substantially improve its lifespan and performance. While people often focus on hardware components like SSDs and RAM when discussing laptop parts, the thermal paste is another essential yet overlooked component. Thermal paste plays a crucial role in transferring heat from your CPU to the heatsink, ensuring optimal performance. This article provides a DIY guide to replace the CPU thermal paste on your Dell Latitude 7389 laptop.
Tools You’ll Need
- Thermal paste
- Screwdrivers (Phillips)
- Tweezers or plastic spudger
- Isopropyl alcohol
- Cotton swabs or lint-free cloth
- Anti-static wrist strap or mat (optional)
Safety Precautions
- Turn off the laptop and unplug it from the wall.
- Remove the battery if possible.
- Wear an anti-static wrist strap to avoid damaging the internal laptop parts with static electricity.
Step-by-Step Guide
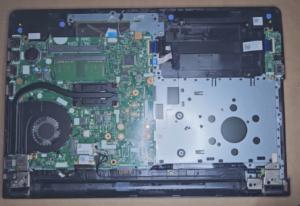
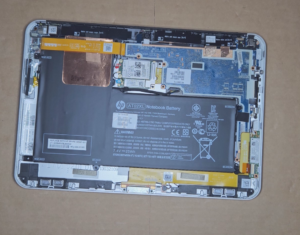
Step 1: Open the Laptop
- Flip your Dell Latitude 7389 over and locate the screws securing the back cover.
- Use a Phillips screwdriver to remove these screws and carefully lift the back cover.
Step 2: Locate the CPU Heatsink
- The CPU heatsink is usually a metal component with a fan attached.
- Before proceeding, take a picture for reference; it can help during reassembly.
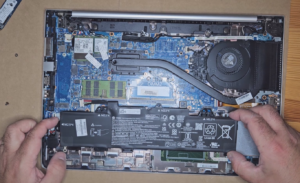
Step 3: Remove the Fan Connector
- Gently remove the fan’s connector cable from the motherboard using tweezers or a plastic spudger.
Step 4: Unfasten the Heatsink
- Use the screwdriver to unfasten the screws that hold the heatsink in place.
- Lift the heatsink off the CPU carefully.
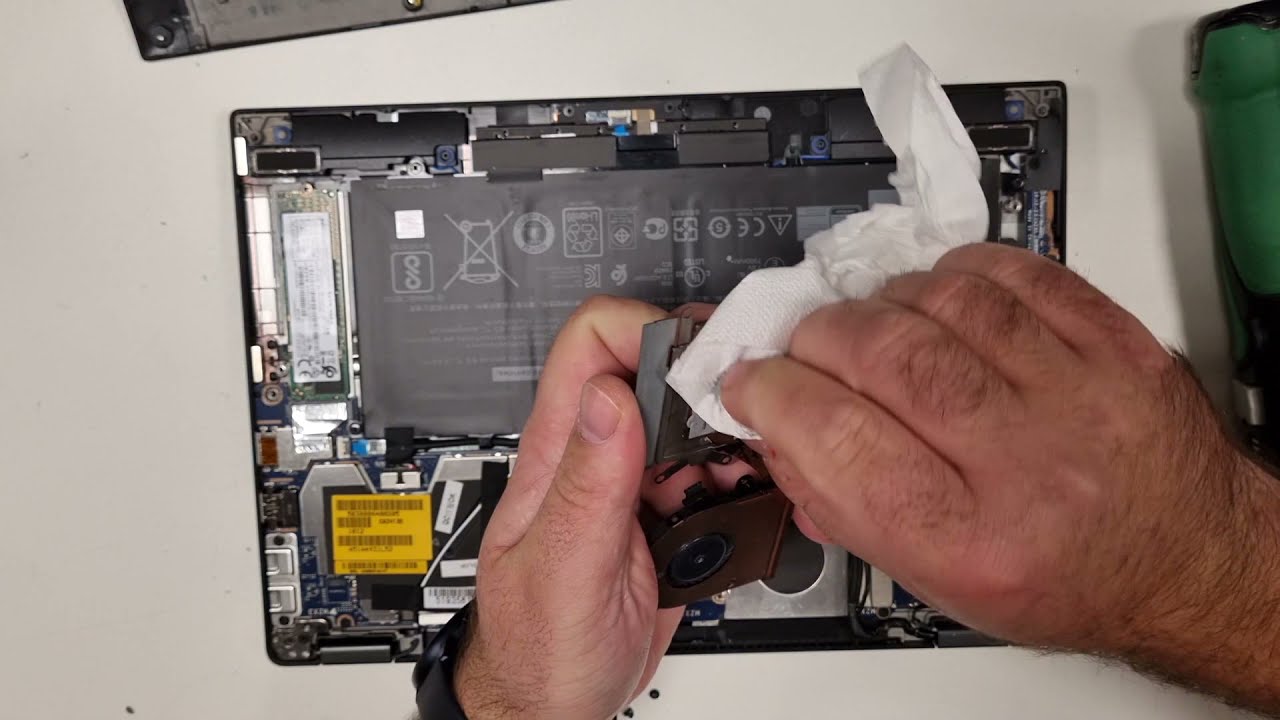
Step 5: Clean the Old Thermal Paste
- Use isopropyl alcohol and a lint-free cloth or cotton swab to clean off the old thermal paste from the CPU and heatsink.
- Make sure the surface is entirely clean for maximum thermal conductivity.
Step 6: Apply the New Thermal Paste
- Apply a small amount of new thermal paste onto the CPU. A pea-sized amount usually works well.
- Use a plastic card to spread the paste evenly, covering the entire CPU surface.
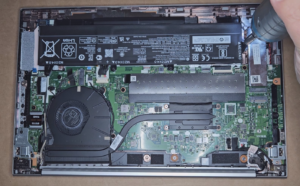
Step 7: Reattach the Heatsink and Fan
- Place the heatsink back on the CPU, ensuring it aligns correctly with the screw holes.
- Reattach the screws and plug the fan connector back into the motherboard.
Step 8: Close Up
- Reattach the back cover and secure it with the screws.
- Reconnect the battery and power supply.
VIDEO:
Replacing the thermal paste on your Dell Latitude 7389 can drastically improve its thermal performance, ensuring a cooler and more efficient system. Regular maintenance, including thermal paste replacement, is crucial for enhancing your laptop’s longevity. So next time you think about upgrading your laptop, don’t forget to consider the small yet significant laptop parts like thermal paste.
If this guide was helpful, consider sharing it and leaving a comment below. For more handy tutorials on laptop parts and upgrades, make sure to bookmark this page and subscribe to our channel.
Happy upgrading!