Upgrading your laptop’s memory can breathe new life into an otherwise sluggish system, especially if you’re into heavy gaming or multimedia tasks. The MSI GF65 Thin Gaming laptop is designed for performance, but even gaming rigs can benefit from a RAM upgrade. Today, we’ll delve into how to disassemble your MSI GF65 Thin Gaming laptop to upgrade or replace its memory/RAM. This guide will come in handy for those who are not only looking for a performance boost but are also interested in understanding their laptop parts better.
Precautionary Measures
Tools Required
- A set of small Phillips screwdrivers
- A plastic spudger or prying tool
- An anti-static wrist strap (optional)
Safety Tips
- Backup your important data.
- Shut down your laptop and unplug it from the power source.
- Discharge static electricity by touching something metallic.
Step-by-Step Disassembly Guide
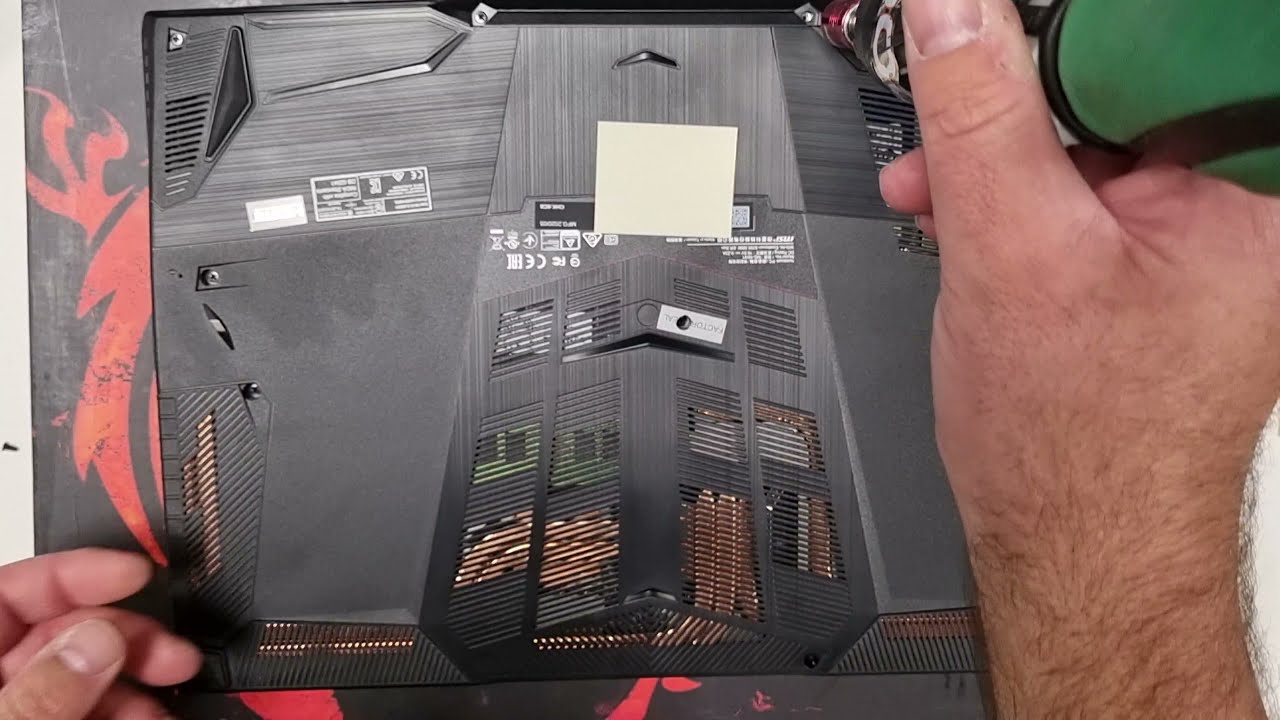
Step 1: Remove Screws from Back Panel
Turn the laptop upside-down and locate the screws on the back panel. Usually, there are around 10-15 screws of varying sizes. Use your Phillips screwdriver to remove them and store them safely.
Step 2: Open the Back Panel
Utilize a plastic spudger or similar prying tool to carefully open the back cover. Starting from one corner, gently slide the spudger around the edges to lift the back cover. Remember to proceed cautiously to avoid damaging any internal laptop parts.
Step 3: Locate the Memory Slots
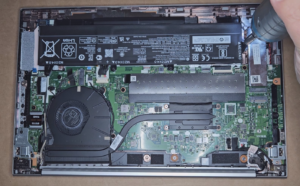
Once the back panel is off, you’ll be exposed to the internal components of your MSI GF65 Thin Gaming laptop. Locate the RAM slots which are generally located next to the cooling fan and CPU. They’re hard to miss; they usually have a small ‘RAM’ label next to them.
Step 4: Remove Existing RAM (If Applicable)
If you’re replacing existing RAM, push the metal clips that hold the RAM outward. The RAM stick will pop up at an angle, allowing for easy removal.
Step 5: Insert New RAM
Line up the notches on the new RAM module with those on the slot. Insert the RAM at a 30-degree angle and press it downward until the clips lock the RAM in place.
Step 6: Reassemble Your Laptop
Once you’ve inserted the new RAM, reattach the back cover and carefully replace all the screws. Make sure each screw goes back to its original place to avoid damaging the laptop.
Other Upgradeable Laptop Parts
While you’re at it, you might want to consider upgrading other laptop parts as well.
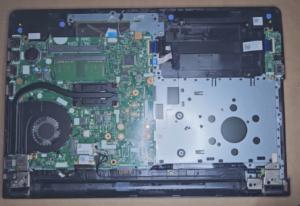
- Storage: The SSD slot is generally located near the RAM and labeled. It’s another upgradeable component that can improve your laptop’s performance significantly.
- Cooling Fan: Over time, cooling fans can accumulate dust and require cleaning or replacement. Located near the RAM slots, these are crucial laptop parts that ensure your laptop remains cool during intensive tasks.
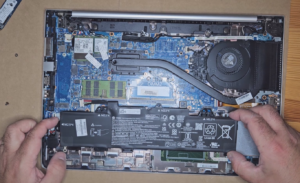
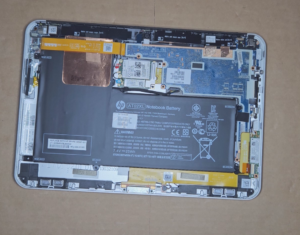
- Battery: This is usually the most massive piece and is often situated near the bottom of the opened back panel. It’s held in place by screws and a connecting cable to the motherboard.
VIDEO:
Memory upgrades are a cost-effective way to enhance your laptop’s performance significantly. The MSI GF65 Thin Gaming laptop, with its user-friendly design, provides relatively easy access to its memory slots and other essential laptop parts. Follow this guide, and you’ll have your MSI GF65 souped up in no time, enhancing not just its memory but also its overall performance and lifespan.
Whether you’re an avid gamer, a multimedia editor, or just someone who loves smooth multitasking, understanding how to upgrade your RAM and other essential laptop parts is a skill that will pay dividends down the line. So, don’t wait any longer; grab your toolkit and get started!