The world of laptops has been dominated by a few strong players, and HP stands as one of the giants. Especially popular among them is the HP 17 series, a versatile and robust laptop that serves a broad spectrum of users. While it boasts impressive specs out-of-the-box, there might come a time when an upgrade is inevitable. For those wanting to inject new life into their device or boost its performance, this guide illuminates the path to safely and efficiently upgrade the memory and replace the 2.5″ SSD disk, two critical laptop parts.
Safety First
Before diving headlong into the disassembly process, remember to prioritize safety:
- Shut down the laptop – Don’t put it in sleep mode; turn it off completely.
- Unplug from any power source – Remove the adapter, ensuring it’s not charging.
- Use an anti-static wristband – Static electricity can harm sensitive internal components. An anti-static wristband keeps things safe.
Tools Required:
- Phillips screwdriver
- Plastic spudger or a thin plastic card
- Anti-static wristband (optional but recommended)
Step-by-Step Disassembly Process:
- Prepare the Workspace: Lay a soft cloth or mat on a flat, spacious table to prevent scratches on the laptop’s surface.
- Flip the Laptop Over: With the laptop screen closed, turn it upside down so that the bottom panel is accessible.
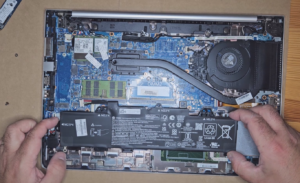
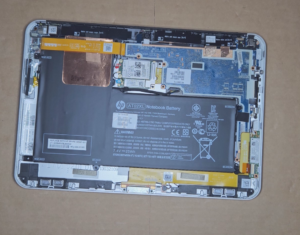
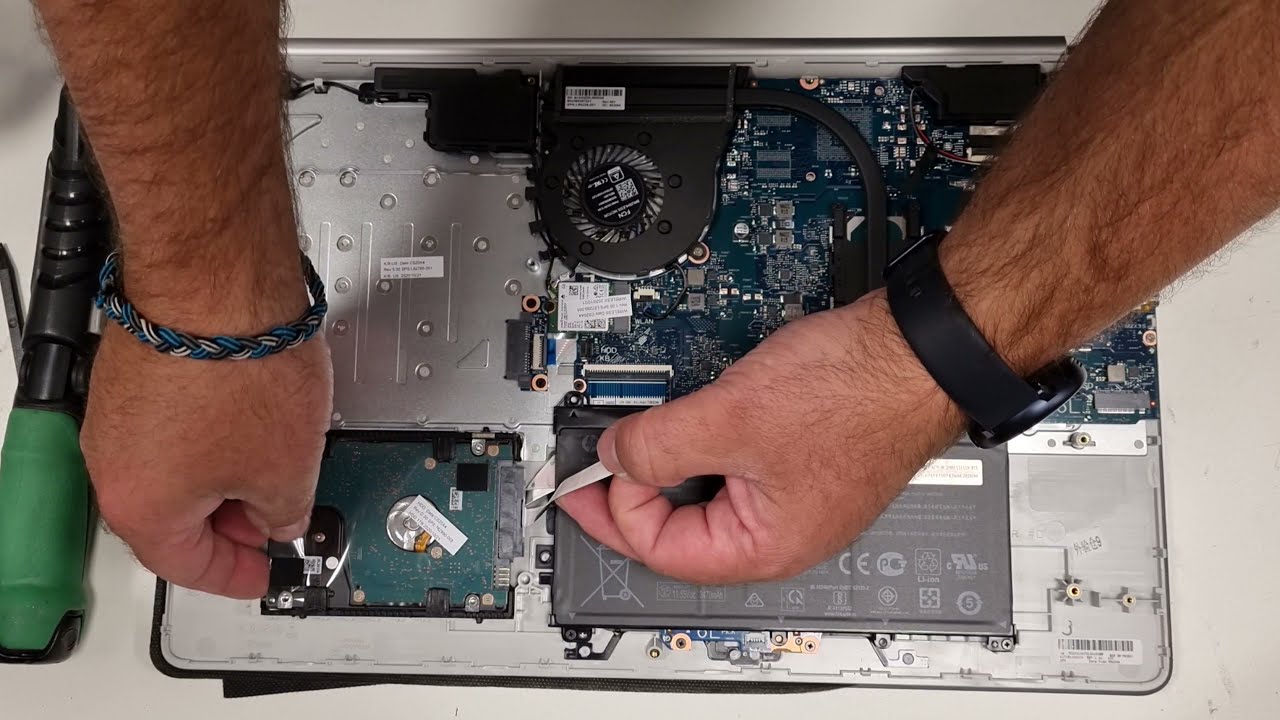
- Remove the Battery: Before accessing the internals, it’s vital to remove the battery. Unlock any latches and gently slide the battery out.
- Unscrew the Base Panel: Locate the screws around the perimeter of the base panel. Using the Phillips screwdriver, unscrew and place them in a small container to prevent misplacement.
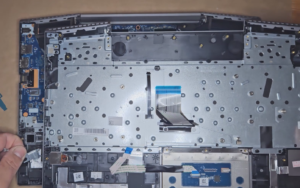
- Accessing the Internals: Utilize the plastic spudger or card to gently pry open the base cover. Start from a corner and gently work your way around, unclipping any locks or hooks.
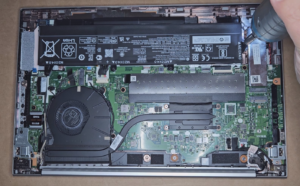
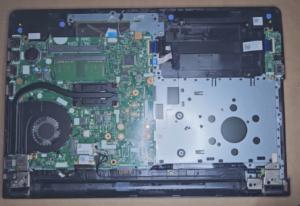
- Locate the Memory and SSD Disk: With the panel removed, you’ll be greeted by the laptop’s internal maze. Don’t be overwhelmed. Focus on locating the memory (RAM) sticks and the 2.5″ SSD bay.
- Upgrading the Memory:
- Push aside the retaining clips on the side of the memory stick. This action will cause the RAM to pop up.
- Gently pull out the memory stick from its slot.
- Align the notch on the bottom edge of the new RAM module with the tab in the memory slot. Insert the RAM module at an angle and push it down until it clicks into place.
- Replacing the 2.5″ SSD Disk:
- The SSD will typically be secured by one or two screws. Remove these screws and gently slide the SSD out of its connector.
- Insert the new SSD ensuring it’s correctly aligned, then secure it with the screws you previously removed.
- Reassemble: Once the upgrades are made, it’s time to put everything back together. Attach the base panel, snap any locks or hooks into place, replace the screws, and lastly, slide the battery back in.
- Power On: Turn on the laptop and head into the BIOS to ensure the system recognizes the new upgrades.
VIDEO:
Upgrading laptop parts, especially in the HP 17 series, isn’t as daunting as it might seem at first glance. With patience, the right tools, and a clear guide, even the most novice of users can breathe new life into their device. Whether it’s for enhanced multitasking capabilities through added memory or a faster, spacious SSD, this upgrade can significantly extend the longevity and performance of your HP 17 laptop. Always remember, while DIY can be rewarding, ensure you’re comfortable with the process, or consult with an expert before venturing into the heart of your device.