The HP 15-ae series is among the sought-after laptops for both personal and professional use, and like any piece of technology, it occasionally requires maintenance. One of the most common maintenance tasks for laptops is the replacement of the CPU thermal paste. This improves heat conductivity, ensuring optimal performance and increasing the lifespan of your device.
But before we delve into the process, a gentle reminder: always handle laptop parts with care, keeping in mind their delicacy and the investments they represent.
1. Preparing for Disassembly
Before we start, ensure you’ve turned off your laptop and disconnected it from any external power source. A soft cloth or a static-free mat can be used as a workspace to prevent any unintentional damage.
Required Tools:
- Phillips screwdriver
- Plastic spudger or pry tool
- New thermal paste
- Isopropyl alcohol (for cleaning)
- Soft lint-free cloth or swabs
2. Accessing the Back Panel
Start by placing the laptop upside down. You’ll observe multiple screws securing the back cover. Use the Phillips screwdriver to carefully remove them. Keep these screws in a safe container, as you’ll need them for reassembly.
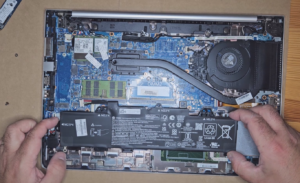
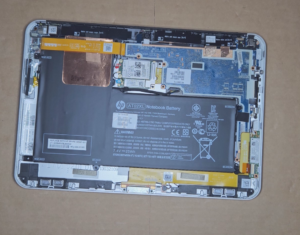
3. Exploring the Inside
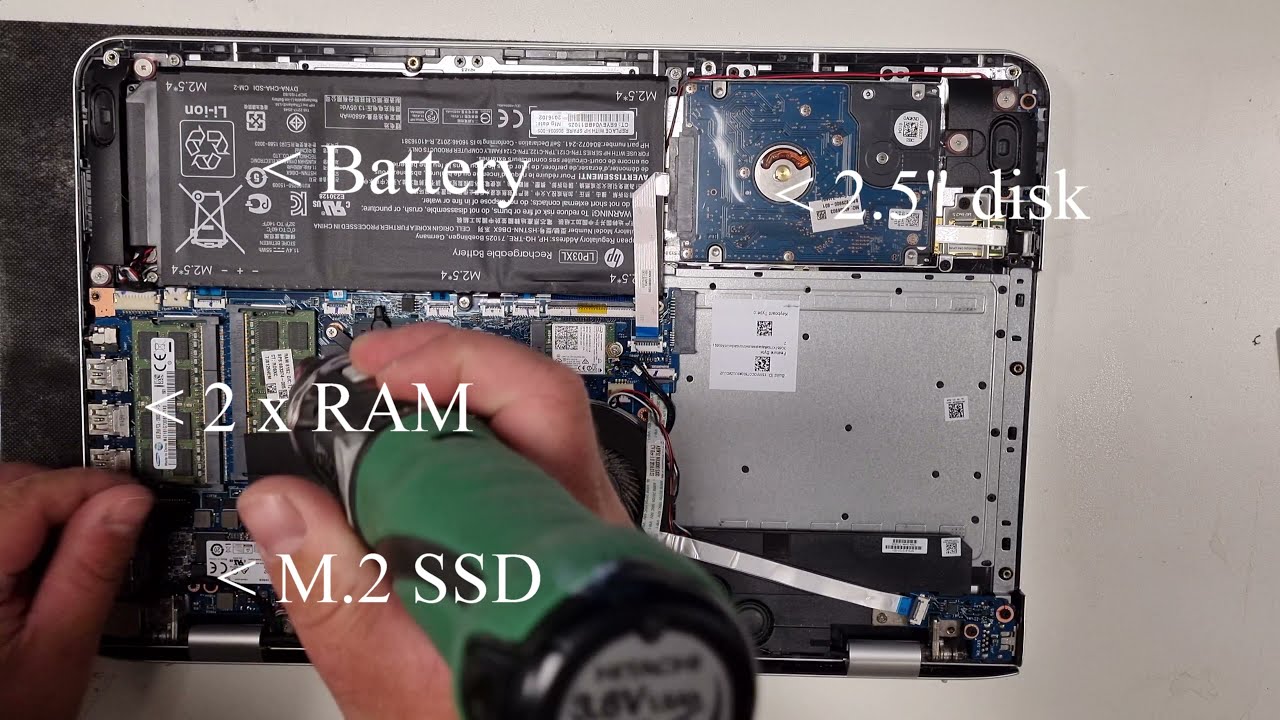
Once you’ve removed the screws, gently pry the back cover using the spudger or your plastic pry tool. With the cover off, you’ll be able to see various laptop parts:
- Battery: Located centrally, it’s typically rectangular and can be easily identified.
- Memory RAM: Found in elongated slots, usually accompanied by securing clips on each side.
- HDD 2.5″ Disk: This is situated at the side and is slightly larger than the RAM. It’s typically enclosed in a metal casing.
- m.2 SSD: This is a smaller module, located away from the RAM and HDD. It’s compact and may resemble a stick of gum.
Having familiarized yourself with these components, let’s focus on the CPU and its thermal paste.
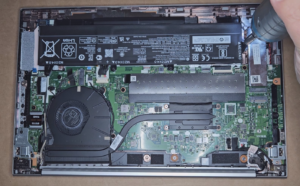
4. Replacing the CPU Thermal Paste
Gently remove the CPU fan by unscrewing the screws securing it. This will expose the CPU beneath.
Use the isopropyl alcohol and lint-free cloth or swabs to carefully clean off the old thermal paste from the surface of the CPU. Ensure the surface is clean and free of any old paste residues.
Once cleaned, apply a small amount (typically the size of a grain of rice) of the new thermal paste onto the center of the CPU. When the CPU fan is reinstalled, the pressure will spread the paste evenly.
Resecure the CPU fan by screwing it back in place.
5. Reassembling the Laptop
Now that the thermal paste has been replaced, it’s time to reassemble the laptop. Gently place the back cover and press until you hear the clips click into place. Screw the cover back using the screws you kept aside earlier.
VIDEO:
Regular maintenance, like replacing the CPU thermal paste, ensures your laptop’s longevity and optimal performance. While the task may seem daunting, with the right tools and guidance, anyone can carry it out. If you’re looking to upgrade or replace other laptop parts like memory or SSD, the HP 15-ae series provides a user-friendly layout for DIY enthusiasts.
Lastly, always remember that having a good knowledge of the inside of your laptop not only aids in maintenance but also helps in making informed decisions about upgrades, ensuring you get the most out of your device.
For more tips, tricks, and insights into laptop parts and maintenance, keep exploring our site. Happy repairing!