The Asus E406M is a budget-friendly laptop featuring an Intel Celeron N4000 processor and 4GB of RAM. For those who are looking to delve into the internals of this compact machine, this article provides a comprehensive guide on how to open its cover to view essential laptop parts like the battery and motherboard. But before diving in, it’s worth mentioning that this model comes with embedded SSD and RAM. This means, unfortunately, you can’t upgrade these components.
Safety Precautions
Before beginning, remember to turn off your laptop and disconnect it from any power source. Ensure that you’re working in a static-free environment to avoid any damage to sensitive internal parts. Using an anti-static wristband is a good practice when handling laptop parts.
Required Tools
- Phillips screwdriver
- Plastic pry tool or guitar pick
- Anti-static wristband (optional)
Step-by-Step Guide
Step 1: Remove All External Connections
Unplug any USB devices, external drives, and other peripherals from your Asus E406M laptop.
Step 2: Turn Over the Laptop
Place your laptop upside down on a flat, static-free surface.
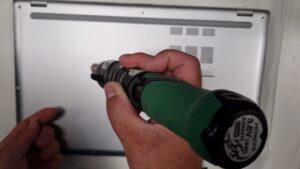
Step 3: Remove Screws from the Base
You will see several screws on the base of the laptop. Using a Phillips screwdriver, carefully remove all of these screws. Keep them in a safe place, as you’ll need them to reassemble the laptop later.
Step 4: Pry Open the Base Cover
Insert a plastic pry tool or guitar pick into the small gap between the base and the laptop’s main body. Gently move the tool along the edge to unclip the locks holding the base cover in place.
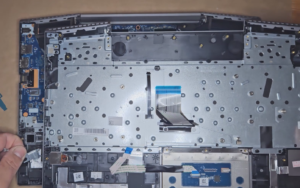
Step 5: Lift the Cover
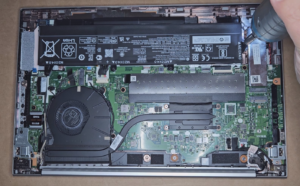
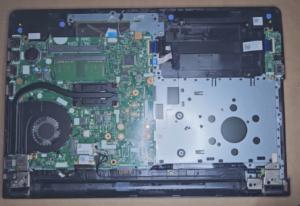
After all locks are unclipped, carefully lift the base cover off to reveal the internal components of your Asus E406M laptop. Take caution not to pull or tug as there may be cables connected to the base.
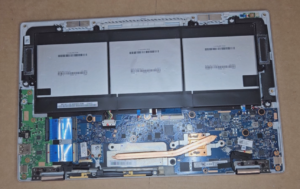
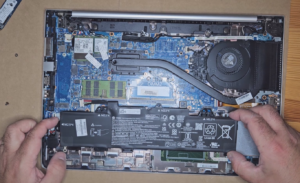
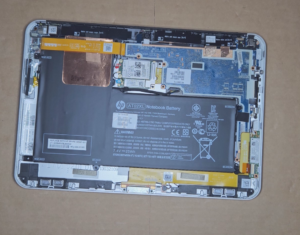
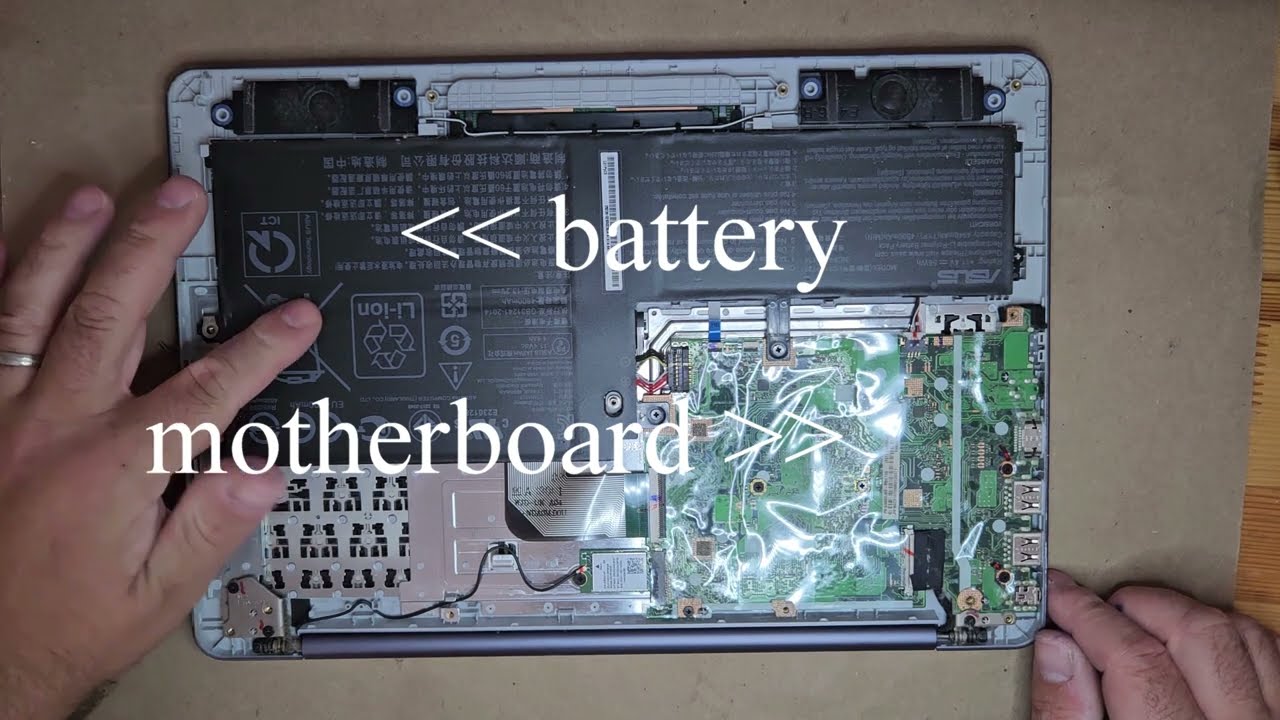
Step 6: Locate the Battery and Motherboard
Once the base cover is off, you’ll see the internal components of the laptop, including the battery and motherboard. The battery is usually rectangular and may be connected with a few screws and a cable to the motherboard. The motherboard is the main circuit board that houses most of the laptop’s hardware.
What Cannot Be Upgraded
At this point, it’s essential to note that unlike some other laptop models, the Asus E406M has its SSD and RAM embedded onto the motherboard. This means these components are not user-upgradable. If you were planning on adding more storage or memory, unfortunately, this won’t be possible with this model.
Step 7: Examine but Do Not Disconnect
It’s good to look and understand the layout of your laptop’s internals. However, unless you are planning to replace the battery or have other specific reasons, it’s better not to disconnect anything. Unplugging or removing components may void your warranty or, worse, damage the laptop.
Step 8: Replace the Cover
If you are finished with your internal exploration, it’s time to put the base cover back. Align it properly and press down gently to clip the locks back into place.
Step 9: Screw Back In
Retrieve the screws you set aside earlier and screw them back into their corresponding holes. Make sure not to overtighten, as you could strip the threads or crack the plastic.
Step 10: Reconnect and Boot
Turn your laptop back over, reconnect any peripherals, and power it up. If everything has been done correctly, it should boot up as normal.
Conclusion
Opening up your Asus E406M can provide valuable insights into its internal components, but remember that due to its embedded SSD and RAM, upgrading these parts isn’t an option. Always take necessary precautions when handling internal laptop parts to ensure you don’t accidentally damage your machine.