Are you ready to dive into the heart of your HP Chromebook 11 G8 EE? Whether you’re looking to fix a persistent issue, upgrade components, or simply satisfy your curiosity about what lies beneath the surface of your trusty device, this comprehensive guide is your gateway to becoming a DIY tech expert.
Embracing the DIY Spirit
Before we embark on this journey of disassembly, it’s crucial to understand the empowering nature of DIY repairs. By learning to service your own laptop, you’re not only saving money and time but also gaining invaluable skills and contributing to a more sustainable tech world. With the right tools and a bit of patience, you’ll discover that even the most daunting tasks are within your reach.
Getting Started: What You’ll Need
- A set of precision screwdrivers
- A plastic opening tool or spudger
- A clean, static-free workspace
- Optional: Anti-static wrist strap for extra safety
Step-by-Step Disassembly
1. Preparing the Workspace: Ensure your HP Chromebook 11 G8 EE is powered off, unplugged, and in a clean, well-lit area. Ground yourself to prevent static damage.
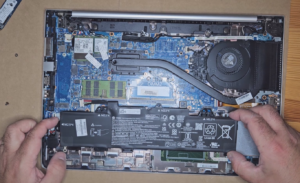
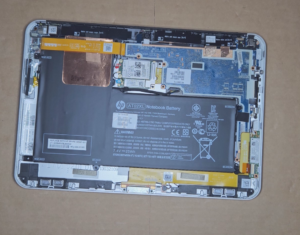
2. Battery Removal: Locate and remove the screws securing the back cover. Gently pry it off with your plastic tool. Once inside, disconnect the battery connector and remove any screws holding the battery in place. Lift it out carefully and set it aside.
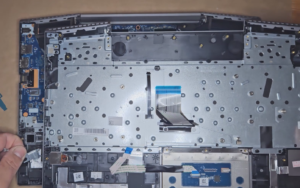
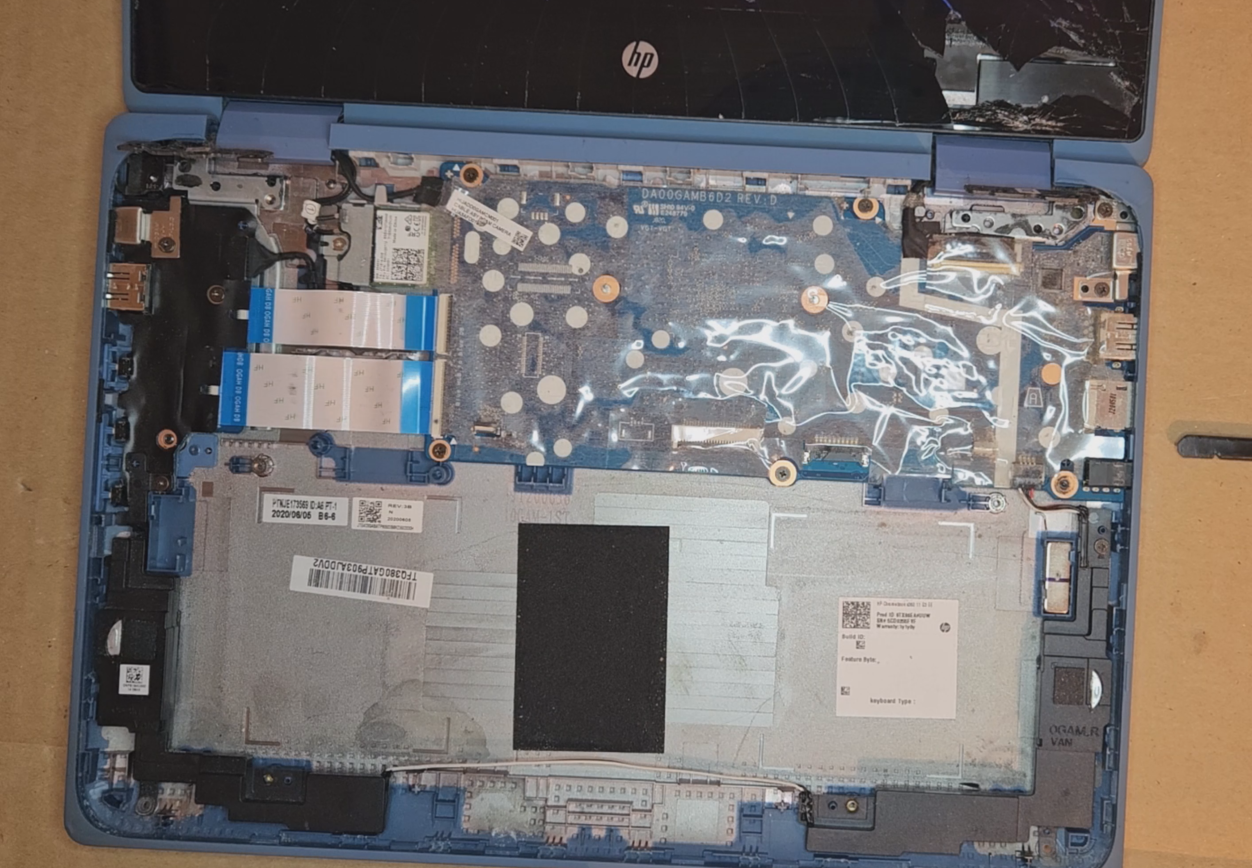
3. Touchpad and Palmrest: With the battery out, look for the screws securing the palmrest and touchpad. Carefully disconnect any ribbons or connectors and lift these components away. This step is crucial for accessing the underlying parts and for any palmrest replacements or touchpad fixes.
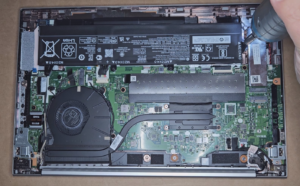
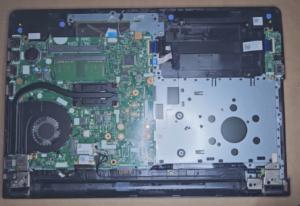
4. Motherboard and Components: Now you’ll see the heart of your Chromebook. Remove screws and gently disconnect cables attached to the motherboard. Pay special attention to the connectors as they are delicate. If you’re looking to upgrade or replace the motherboard, ensure you’ve noted where each component fits for reassembly.
5. Screen and Camera: If your focus is on the screen or camera, you’ll need to carefully separate the display from the main body. Open the laptop, remove any bezel screws, and gently pry the bezel away. The screen is connected with a cable that needs careful handling. The camera, usually at the top of the screen, can be unscrewed and replaced if needed.
Throughout this process, remember to keep track of all screws and components. Take photos or notes if needed to ensure a smooth reassembly.
With this guide, you’re no longer just a laptop user; you’re a savvy DIY repair enthusiast ready to tackle the challenges and reap the rewards of servicing your HP Chromebook 11 G8 EE. So, gather your tools, take a deep breath, and embark on this journey of discovery and accomplishment. Your laptop and the planet will thank you!