When you’re looking to upgrade or replace various components of your Dell Latitude 3500 laptop, a complete disassembly might be necessary. This detailed guide will provide you with step-by-step instructions on how to disassemble your Latitude 3500 to access and replace components like the motherboard, SSD disk, RAM, and more. Whether you’re a seasoned technician or a determined DIYer, this guide aims to help you understand the process, tools needed, and precautions to take.
Before You Start
Safety and Preparation:
- Backup Data: Ensure all important data is backed up.
- Power Off: Completely shut down your laptop.
- Unplug: Disconnect all cables and power sources.
- Static Precautions: Use an anti-static wrist strap or ground yourself to prevent damage from static electricity.
Tools You’ll Need:
- Screwdrivers (Phillips #0 or #1)
- Plastic spudgers or pry tools
- Anti-static wrist strap (recommended)
- Small containers or bags to hold screws
Disassembling the Dell Latitude 3500
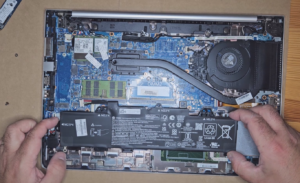
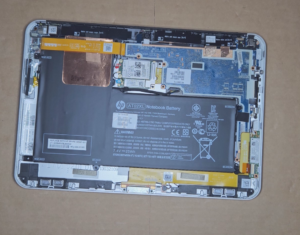
1. Battery Removal:
- Remove screws securing the back cover.
- Carefully lift the cover using a plastic tool.
- Disconnect and remove the battery.
2. RAM/Memory Upgrade/Replacement:
- Locate the RAM slots.
- Release the clips holding the RAM sticks.
- Gently remove the RAM and replace or upgrade as needed.
3. SSD Disk Upgrade/Replacement:
- Identify the SSD slot.
- Unscrew and remove the existing SSD.
- Insert the new SSD and secure it.
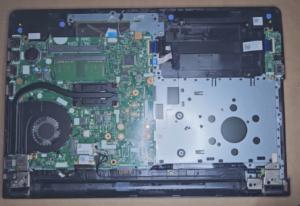
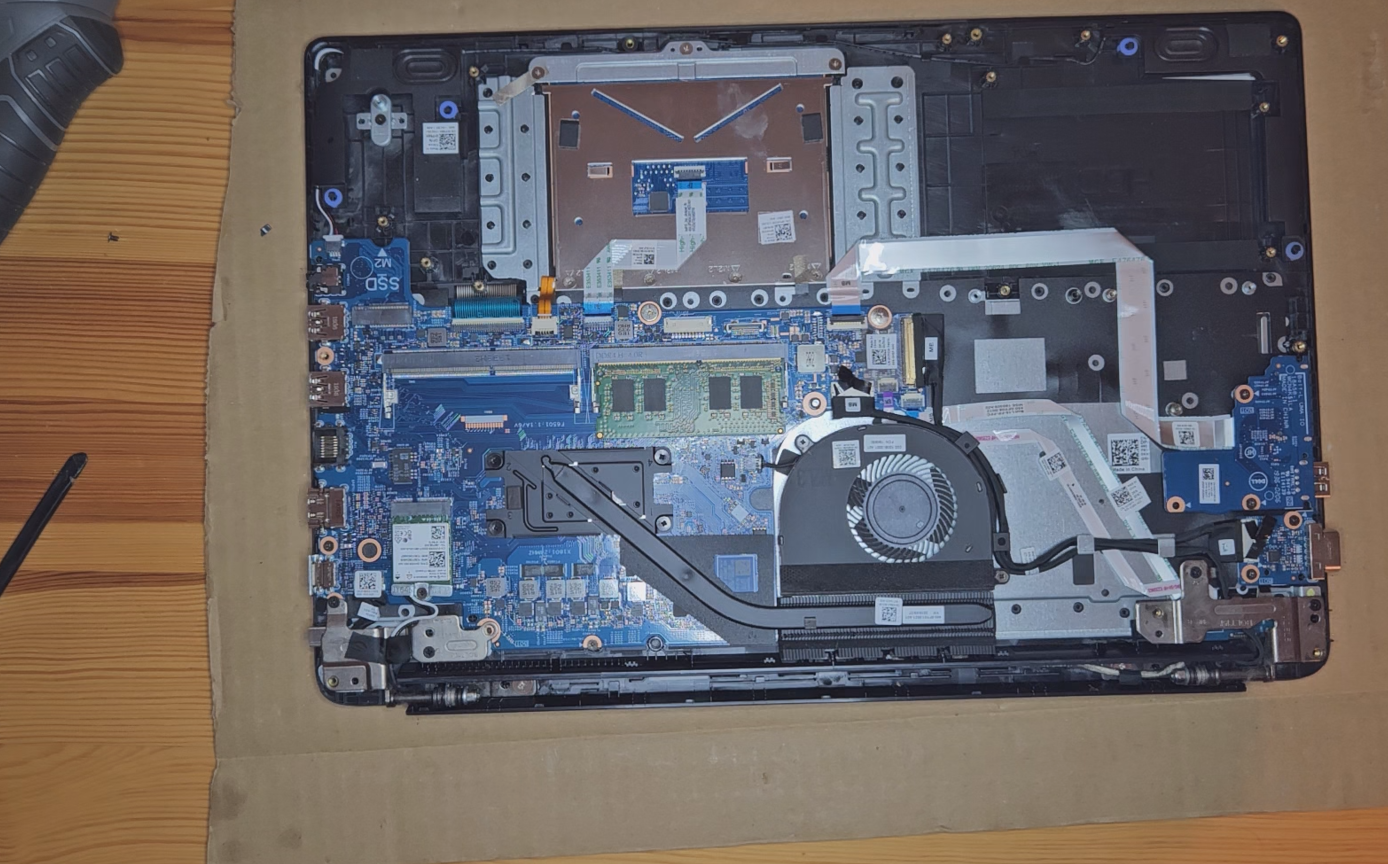
4. Motherboard Access:
- Disconnect all visible cables connected to the motherboard.
- Remove screws securing the motherboard.
- Gently lift out the motherboard for repair or replacement.
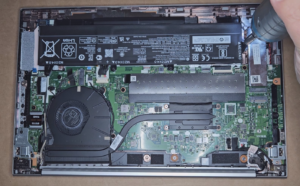
5. Replacing Thermal Paste:
- Locate the CPU and GPU on the motherboard.
- Clean off old thermal paste from the CPU, GPU, and heat sink using isopropyl alcohol.
- Apply a small amount of new thermal paste evenly.
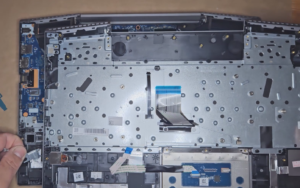
6. Speakers, Palmrest, and Keyboard:
- Remove screws securing the palmrest and keyboard.
- Disconnect cables connecting them to the motherboard.
- Replace the parts as necessary.
7. Touchpad, Screen, and Camera:
- Unscrew and gently remove the screen bezel.
- Disconnect the camera and screen cables.
- Replace the touchpad or screen by reversing the removal process.
8. Case/Housing and LCD Cable:
- Carefully detach the housing parts.
- Replace or repair the LCD cable as needed.
9. Battery, WiFi Card, and Power Jack:
- For the battery, reverse the initial removal steps.
- Unscrew and replace the WiFi card if necessary.
- Desolder and replace the power jack if damaged.
Reassembly Tips
- Check Connections: Ensure all cables and components are properly connected.
- Screw Tracking: Use the containers or bags to keep track of screws and where they belong.
- Gentle Handling: Be gentle with all parts, especially the screen and motherboard.
VIDEO:
Disassembling and upgrading your Dell Latitude 3500 can extend its lifespan and improve performance. However, if you’re unsure about any step, it’s wise to consult with or hire a professional to avoid potential damage. Remember, while this guide is a great starting point, always refer to the official Dell service manual for specific instructions related to your laptop model.