Your Lenovo Ideapad 3, like all laptops, is more than just its sleek exterior. Inside, it’s a hub of intricate laptop parts that, with the right know-how, can be customized to better suit your needs. Whether you’re looking to speed up its performance by upgrading the memory, or need to swap out the battery or SSD, this guide is here to help. Remember, a bit of DIY can bring new life to your device and potentially save on costly technician fees.
Before You Begin: Safety First
- Backup: Always back up your data before performing any hardware modifications.
- Static: Use an anti-static wrist strap to prevent static electricity from damaging the internal components.
- Environment: Work on a clean, flat, and well-lit surface.
Disassembling Your Lenovo Ideapad 3
1. Power Down & Unplug:
- Ensure your laptop is completely shut down.
- Unplug the power adapter and any external devices.
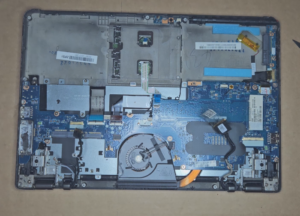
2. Remove the Back Panel:
- Flip the laptop to expose its underside.
- Using a small Phillips screwdriver, unscrew all visible screws. Keep them in a safe place; a magnetic parts tray can be handy.
- Gently pry open the back panel using a plastic spudger or a plastic card. Start from one corner and work your way around.
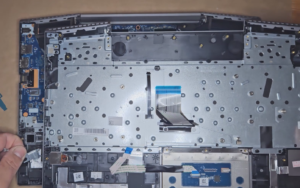
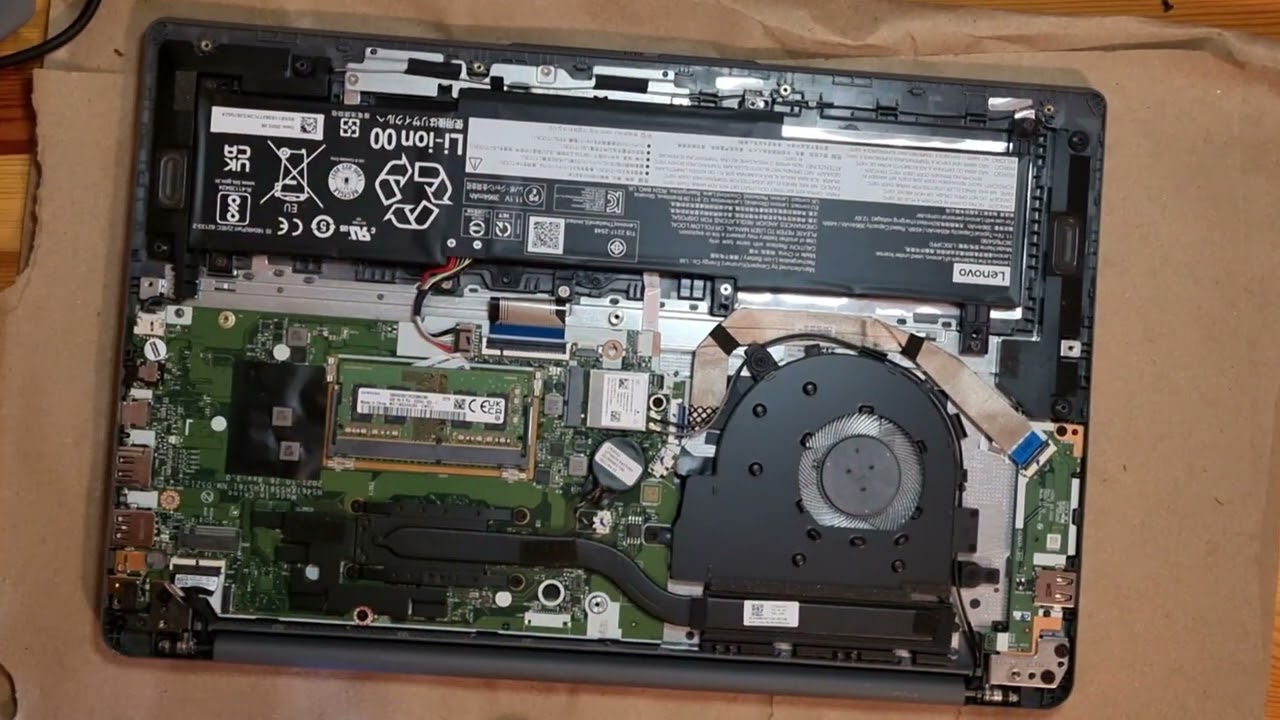
Upgrading the Memory (RAM)
1. Locate the Memory Slot:
- You’ll find the RAM encased in a metal shield. Gently push apart the clips holding the RAM stick.
2. Install the New RAM:
- Align the notch on the RAM stick with the notch on the slot.
- Insert the RAM at a 45-degree angle and push down until it clicks into place.
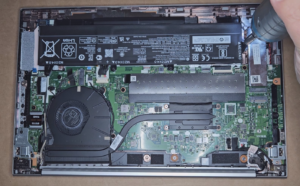
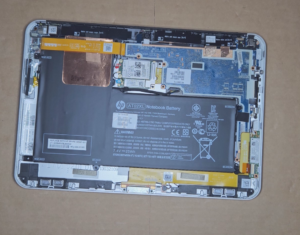
Replacing the Battery
1. Locate the Battery:
- The battery is typically rectangle-shaped, with wires connected to the motherboard.
2. Disconnect & Replace:
- Gently disconnect the battery connector from the motherboard.
- Unscrew any screws holding the battery in place.
- Replace with the new battery, ensuring you connect it to the motherboard and secure it with screws.
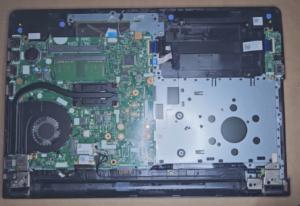
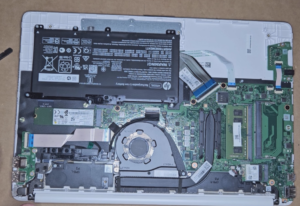
Swapping the SSD
1. Locate the SSD Slot:
- The SSD is typically held by a single screw or situated in a slot resembling the RAM’s.
2. Swap the SSD:
- Remove the screw holding the SSD.
- Gently pull out the SSD.
- Insert the new SSD, ensuring it’s firmly connected, and replace the screw.
Reassembly
- Once all changes are made, reattach the back panel.
- Screw in all the screws you initially removed.
VIDEO: Lenovo Ideapad 3 disassembly guide to upgrade memory or replace battery and SSD
The world of laptop parts might seem intricate, but with a little patience, it’s more approachable than many think. Upgrading your Lenovo Ideapad 3 not only enhances its performance but also gives you a sense of accomplishment. Remember to always refer to official guides or consult professionals if in doubt. Happy tinkering!